This is the beginning of section 4 I will be starting it with the Rock Project.
| Joshua Roberts 10th Grade Student |
|
This is the beginning of section 4 I will be starting it with the Rock Project.
0 Comments
I found this video very useful as more of a refresher for remembering what a Ions, Cation, and Anion. The person in this video knows how to explain things in more of an overview of what the material is. You find out that at 1:40 he talks about what Ion's do and how they can go both ways either positive or negative. He gives this example with the element Lithium and uses the element through the video. I don't really think that anything doesn't work in this video it doesn't really tell you false information. It's just a simple overview of what these concepts are just as this is a simple overview of the video. I learned or re-learned that Cations hold a positive charge, and that Anions hold a negative charge. Ions usually just go either or it can be positive or it can be negative depends on what the element your working with is. I don't know if I would recommend this video to anyone in particular just anybody who needs a brief overview on these concepts, this is the video you would want to see. For this lab we created functioning batteries using pennies and cardboard soaked in vinegar. Basic concepts
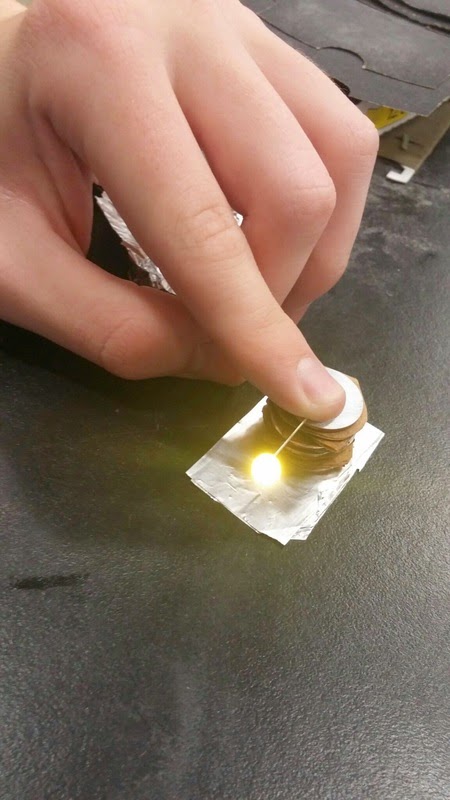
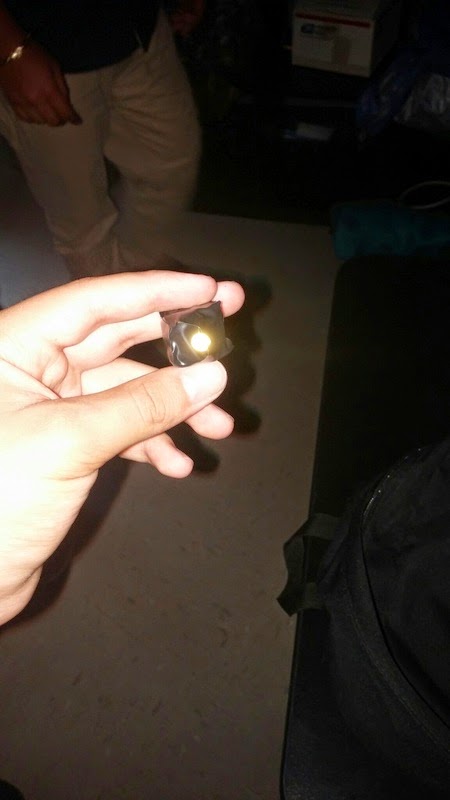
The first thing we did was take about six pennies and sanded off, one side of the pennies until it looked like the color silver. Now It make look like silver but it's not it's actually Zinc, so now one side of the penny should be copper and the other Zinc. Then after we sanded the pennies we then take a piece of cardboard and cut it into the shape of the penny. We then dropped our cardboard cut outs into a beaker of vinegar and let them soak while that was happening we took the pennies and put them on the small piece of aluminum foil. With the copper side of the penny facing down and the zinc side facing up, we then took a piece a soaked cardboard and dabbed it a little on a paper towel, after that we then applied on top of the penny (Zinc side facing up). After that we stacked our materials in a order that went copper, zinc, cardboard, you can repeat this pattern as many times as you would like but one end must have zinc facing out and the other should have copper. after that we tested the battery by connecting a L.E.D to it. At a molecular level electrons are jumping between the zinc, copper and vinegar in the cardboard. That flow of electrons is what creates the electric current that powers the L.E.D. Something I take away from this lab is to always persevere and never give up, my battery at first did not work but after a few trail and errors and with help from my partners I finally figured out how to do it. 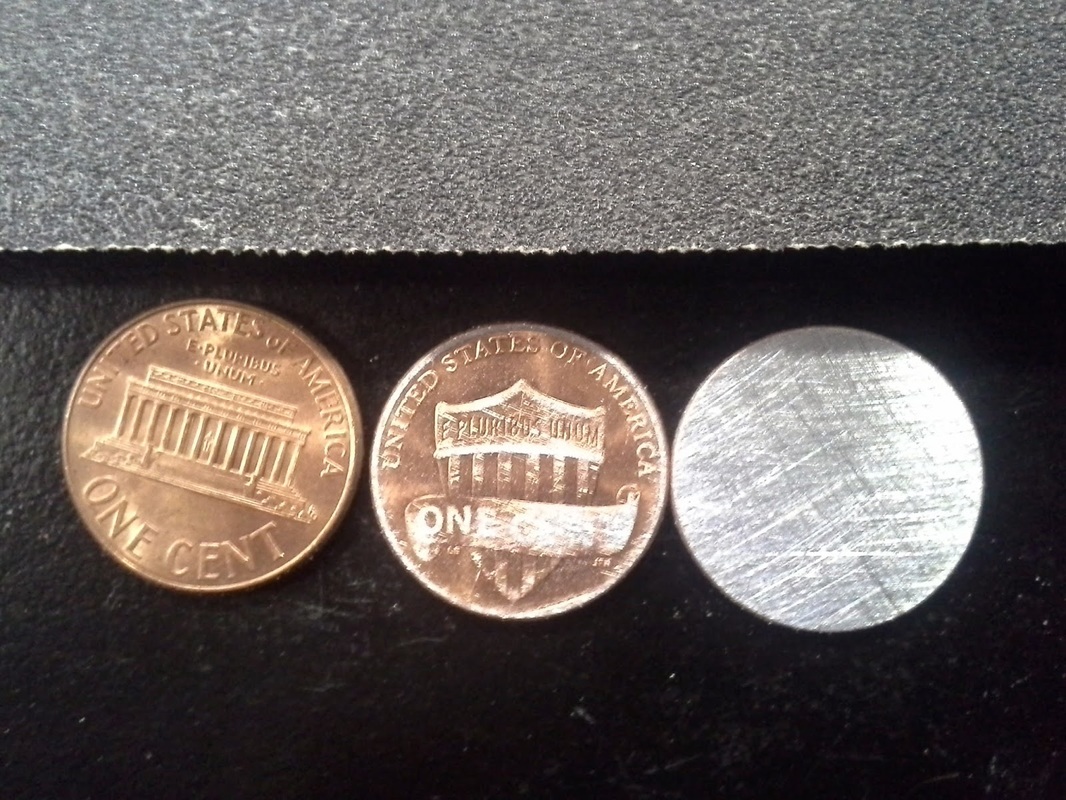
Before we started the lab we had a class discussion about Chemical RXN's and what reaction our fuel would exhibit. I learned the only way to create a reaction is by adding energy. I also learned that there are two types of chemical reactions; one is when energy is absorbed (endothermic RXN) and the other is when energy is released (exothermic RXN). I know that my fuel is going to have a exothermic RXN. Materials
The Equation: 5C12H22O11+48KNO3-----> 24K2CO3+36CO2+55H2O+24N2 To make the fuel cell we took paper and wrapped it around a Ram Rod then tightly secured it with masking tape. I grabbed a small-medium size of aluminum foil and used it to cap off one end of the paper. I then took some grounded sugar and Potassium Nitrite. And poured it into my fuel lodge, then took some more aluminum foil to cap it off. I then took a small drill bit and drilled a small hole into the one of the aluminum caps, then took a fuse and pushed it into the hole. I then attached fuel cell to a skewer stick, added a name and that was my rocket. When you light the fuse you add energy in the form of heat to the fuel. Once that happens the the fuel will have an exothermic reaction and most of the fuel will convert to a gas and escape through the small hole we drilled creating thrust and pushing the cell upward. When it was time to launch my rocket do what I expected it to, when the fuse was lit the cap popped off and my rocket didn't go anywhere. One thing I would take away is to fix my cap because, it wasn't on securely so I would re-due my capping.
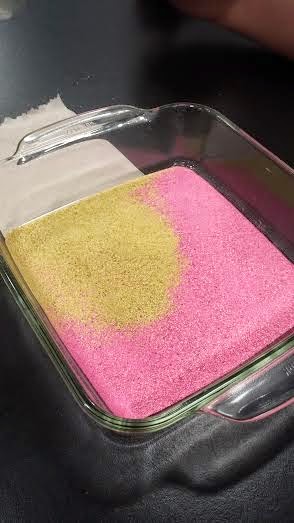
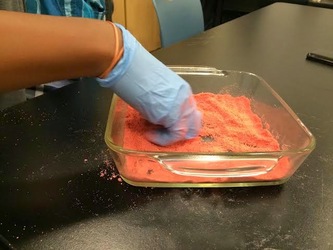
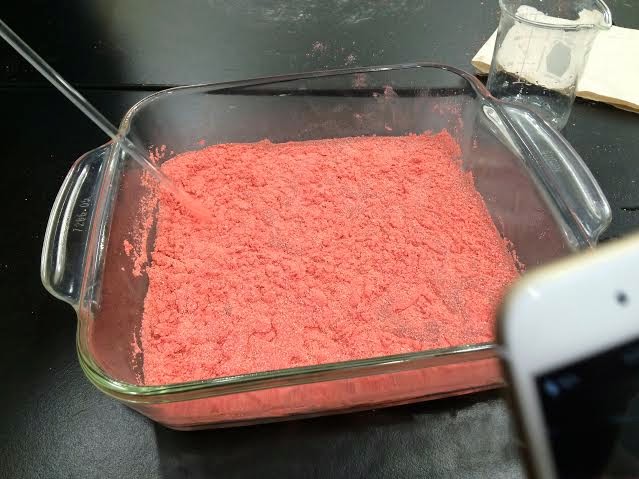
For this experiment we made Kinetic Sand and the concepts that went into it. Such as Ionic Compounds, Covalent Compounds, Hydrophobic, Hydrophilic, Polarity, and Solubility. Ionic Compounds are polar: something takes, something gives. Covalent Compounds are the sharing of electrons. Hydrophobic means the element is non-polar. Hydrophilic means that the element is attracted to water. Polarity is something magnet like. Solubility is the level to which dissolves certain things. During this we first poured pink sand then, green sand to make a mix of sand. We shook it then had it sprayed with silica spray, then we shook it some more then added more silica and we continued this process about five times. We then poured water onto it to see if it was non-polar, it turns out that my groups sand was half working. What I mean is that half the sand was polar and the other half was non-polar which means it only half worked. I liked my group I feel we shared the work equally and this lab wasn't all that complicated it was quite boring at times. I don't know if I would actually do this lab again it wasn't very exciting and quite boring at times, but if I had to do it differently, I would put less sand and more silica spray but I would probably use a different material than sand to stick to the silica spray better. As I said before I didn't really enjoy this lab all to much I thought it was really boring at times, it was mostly going back and forth between getting the sand sprayed and crushing the sand.
|
AuthorHello my name is Joshua Roberts, I am a 10th grade student at High Tech High. This is my chemistry blog where I will post all my work. Archives |
 RSS Feed
